Sorry for the long delay with this post. I actually made this tart last week, but things have been so crazy with our cute ass foster puppy that I haven't had a chance to write about it!! Good news - my mom is actually adopting him and he will be going home for Thanksgiving! YAY!
I also just had the final exam for my wine class and I'm waiting on the results... don't want to jinx myself but I'm pretty sure I rocked it!


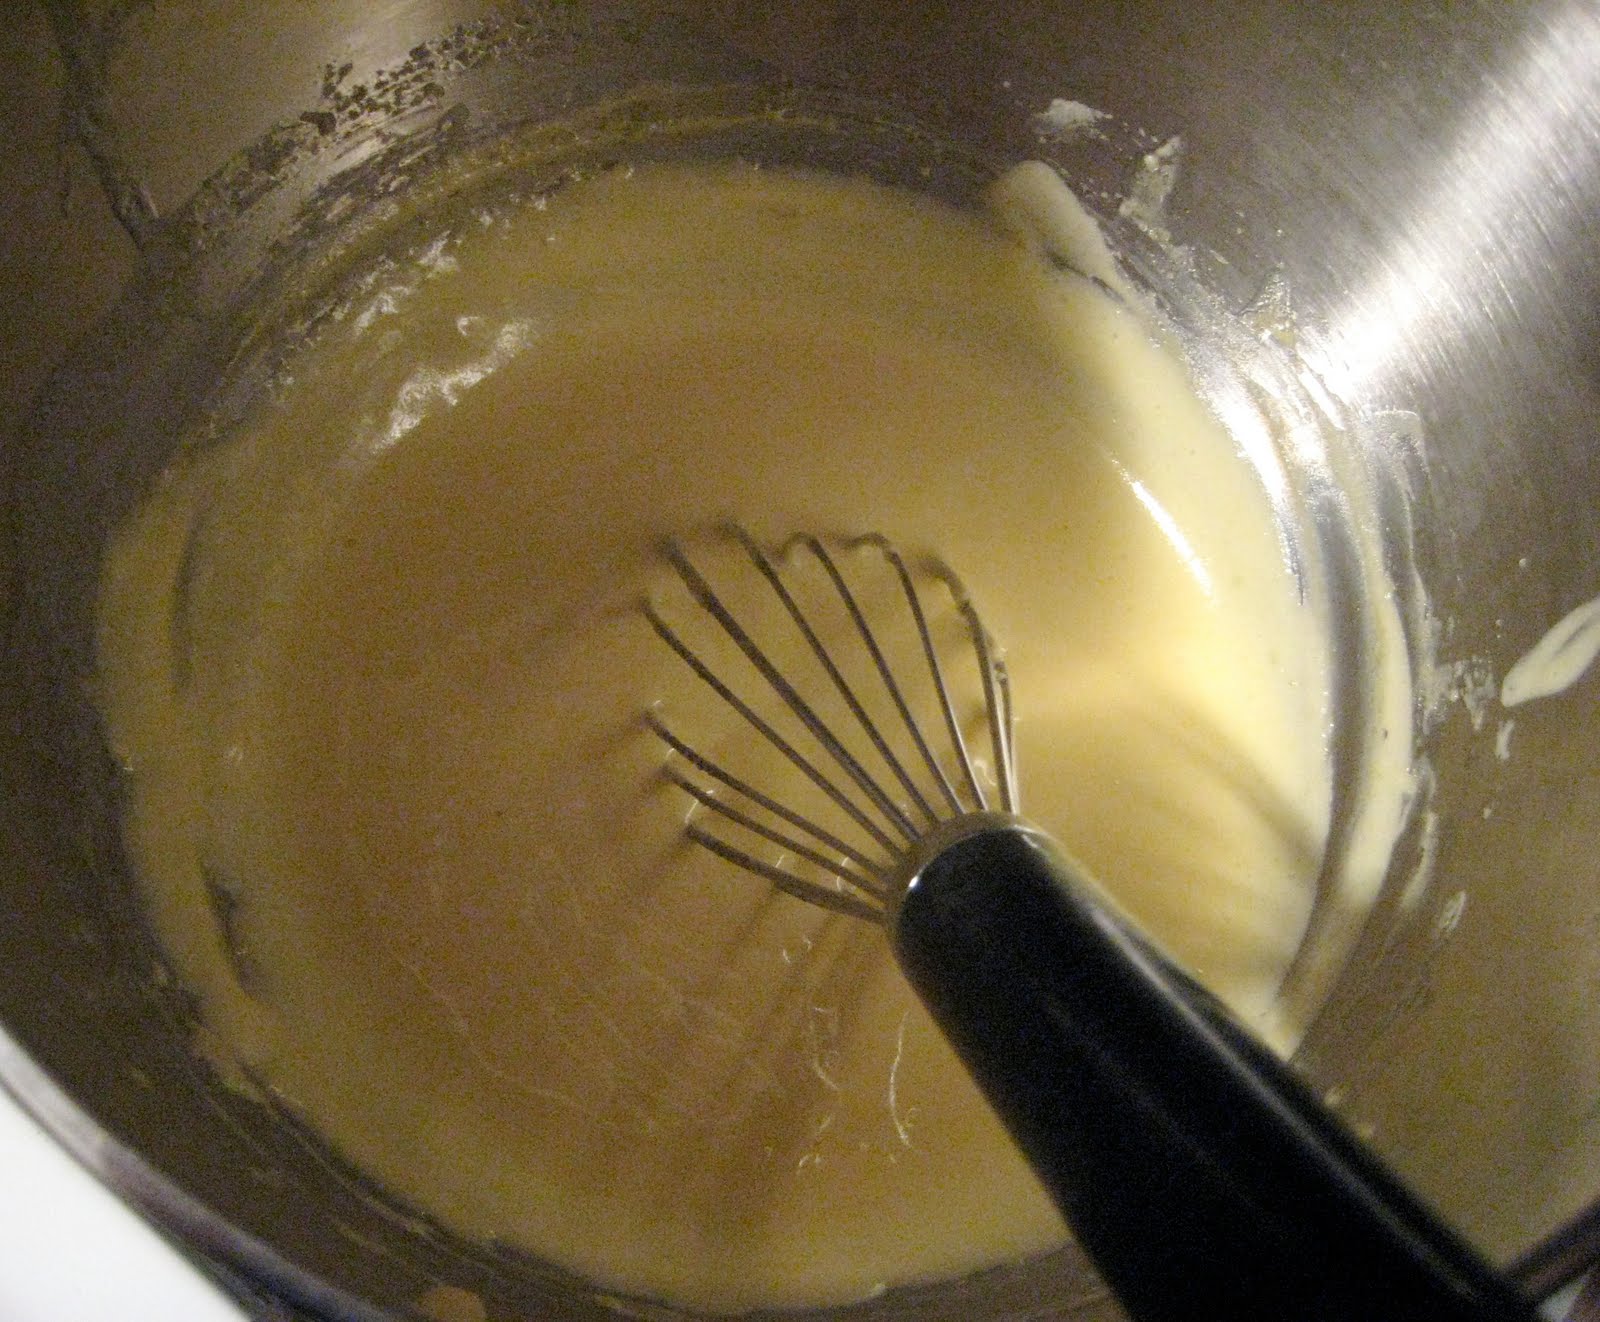
 While it was cooling to room temperature, I made the mascarpone cream by whipping together a combination of heavy cream, honey and mascarpone. This is served on the side:

Back to the important stuff - FOOD..... DESSERT.
This was my first attempt at a FL dessert... I chose it because it looked like one of the simpler recipes. I've made both a tart shell and a sabayon before, so it wasn't too intimidating. For anyone that is wondering what "sabayon" is... here is a quickie (hehe I said quickie) definition:
Sabayon (or Zabaglione) is a dessert made with egg yolks, sugar, and some kind of flavoring liquid (such as sweet wine or in this case, fresh lemon juice). The end result is a very light custard, which has been whipped to incorporate a large amount of air.
Got it? Great! Moving on....
The first step in making this dessert was to make the tart shell. This shell was a bit different from others that I've made in that it incorporated pine nuts with the flour and other ingredients. First, my pine nuts went into the food processor:
I pulsed them a few times and then put them into my big KitchenAid mixer bowl, to which I added sugar and flour and mixed briefly with the paddle attachment. Then, I added some butter (at room temp), an egg and vanilla extract...
... and mixed to incorporate into a large dough ball:

This was obviously wayyyy too much dough for one tart, so I divided it into three equal parts, reserving two in the freezer for future use, and putting one in the refrigerator to chill.
Then, I buttered and floured my fluted tart pan (with a removable bottom):

...and gently pressed my chilled tart dough into the pan:

This went into the oven to pre-bake, since my sabayon was not going to actually bake in the oven. While it was turning a perfect golden brown, it was time to make the sabayon.
First, I created a double boiler by bringing a small amount of water to a boil in a pot and placing a mixing bowl with a slightly larger diameter over the top. To this bowl I added the eggs and sugar and whisked:

After the eggs were foamy, I added my freshly squeezed lemon juice, 1/3 at a time, while whisking vigorously to create the custard. The end result looked like this:
... and in the shell:

The final step was to put the tart under the broiler and rotate it to brown the top. After almost giving myself third degree burns, the tart came out looking like this:
 While it was cooling to room temperature, I made the mascarpone cream by whipping together a combination of heavy cream, honey and mascarpone. This is served on the side:
A great first dessert (and another really crappy last picture WTF??)... this was relatively easy to put together and I would absolutely make it again. I served it to my boyfriend (who loves everything I make) and my friend Kelly (who is always down to at least try my experiments) and they both came back for seconds!! Yum.
Sources:
Specialty Bakeware - A Cook's Companion, Brooklyn, NY
Grocery and Dairy - Trader Joe's, Brooklyn, NY


